
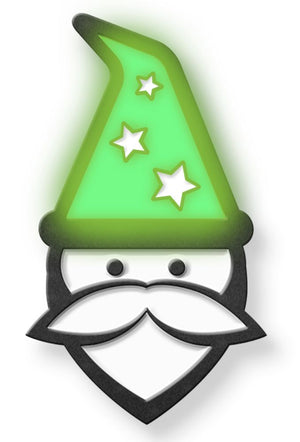
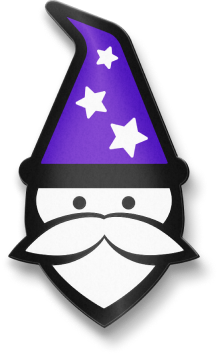
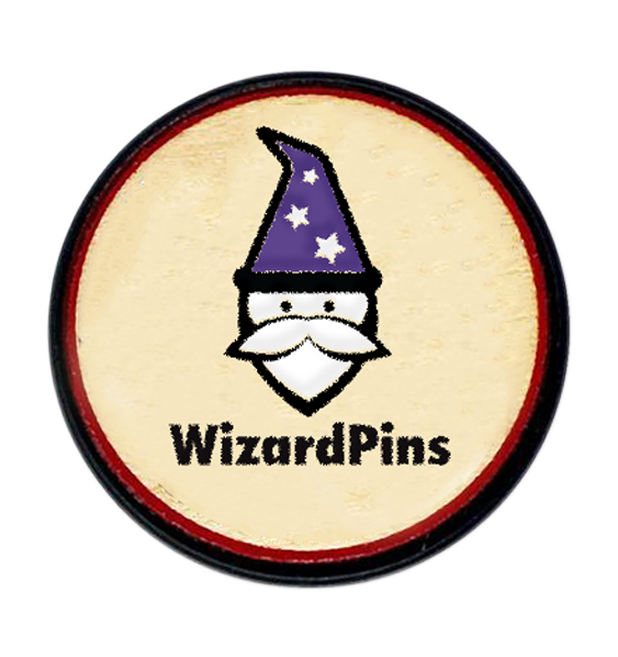


How to Design Enamel Pins
Not sure how to design an enamel pin? This comprehensive guide will tell you everything you need to know about turning your artwork into a custom enamel lapel pin! Whether you are designing a pin for your company, small business, or online shop, the process is simple. You just need a logo, sketch, or even just a written idea, and our team will help turn it into a finished product.


Designing Custom Enamel Pins
Step 1
Submit Your Order and Artwork
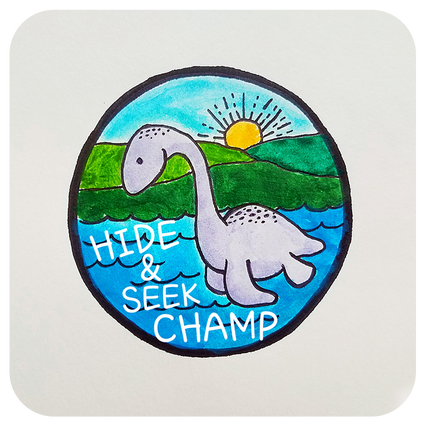
We accept any file type, so the easiest way to get started designing a pin is to send us whatever format you already have for your design; vector art is idea, but we can work with anything. Even a quick description of your idea (for example, "a blue heart with the text '2021' in silver metal") works perfectly as a starting point!
The best way to send us your artwork is by attaching it as a file upload when you place your order. However, you can also email us your artwork at sales@wizardpins.com.
We usually respond within the same business day, and in nearly all cases, you'll hear from us within 24 hours.
Yes! That actually can sometimes be super-helpful in planning out the placement of different elements.
Yes, of course! Sometimes, our art upload tool has trouble with multiple files, so it's best to upload what you can and then respond via email with additional assets.

Step 2
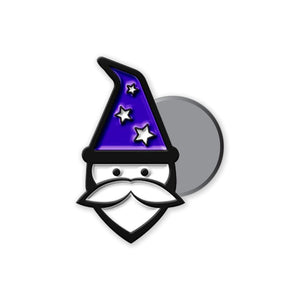
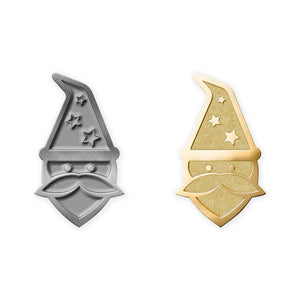
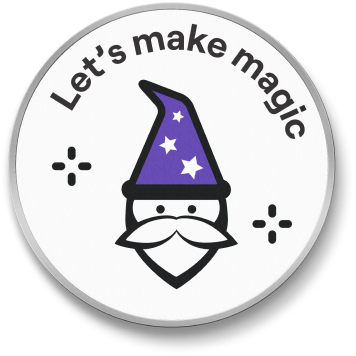
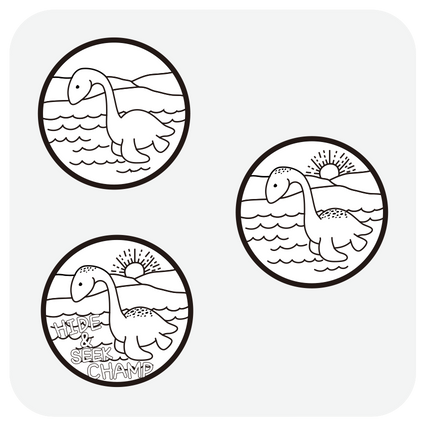
Our team creates line art
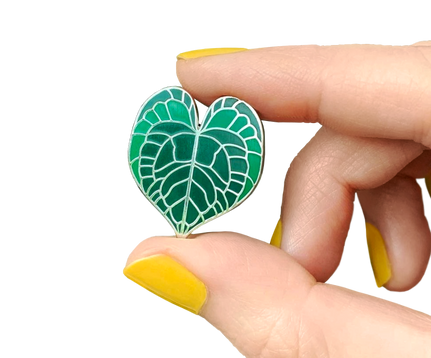
Our skilled artists will convert your design into a line drawing that's ready for the enamel process. In this version, white areas indicate the cavities where enamel will be added, while black lines represent the metal parts of the pin. Some artwork, such as photographs, needs significant simplification, while designs prepared by graphic artists can often be reproduced exactly as they are. Every design is unique!
Raster images are comprised of tiny pixels that form a larger image when grouped together. When zooming in on a raster image, you'll notice that it becomes more blurry. On the other hand, vector art, typically built in Adobe Illustrator, scales infinitely and looks smooth and sharp even when you enlarge the image. The clarity provided by vector files makes it much easier to design an enamel pin, but most customers submit raster images, which are converted by our team to vector images.


There's a limit on what can be included in the mold use to strike the pins out of metal. In these instances, the details typically are omitted because they wouldn't register on the final product.
• No gradients or shading can be used. • Each color in your design must be separated by metal. • Minimum requirements are 0.2 mm for metal line thickness and 0.3 mm for color-filled areas. • Text should be no smaller than 5 pt. • Simple designs produce the best results.
Each pin is created custom for your order, so there's no standard template. But if you know what pin size you want, a good rule of thumb is to draw something or prepare a file that looks legible when scaled down to that size.
We don't reproduce artwork if you don't have the IP rights or proper licensing. We also won't make designs that advocate hate speech.

Step 3
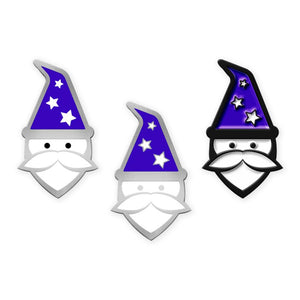
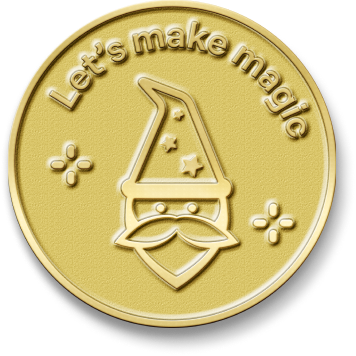
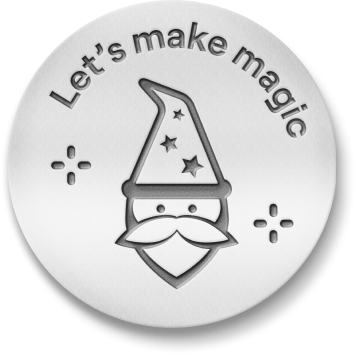
We select Pantone colors and a metal tone
The Pantone color system offers a wide range of premixed, numbered shades, making it easy for us to select the perfect enamel colors to match your design. This is also the stage where we decide which plating style will work best for your pin's base metal.
To best understand how the colors will look in person, we recommend getting a physical swatch book for uncoated Pantone colors. Soft enamel tends to work better if you're aiming to have the colors come out exactly the same, whereas some colors on hard enamel pins look somewhat muted (e.g., yellows and oranges) due to the polishing process. If matching your brand colors has been challenging for other promotional products, we'd recommend requesting a sample before going ahead with a full order.
Yes. If you submit a raster file or don't have official brand colors, our team will automatically choose colors that best match your design. But if you have specific colors that you'd like to use, please let us know.
We recommend keeping your design to eight colors or fewer. Designs with more colors often become too complex for the enamel process and are usually better suited for printing. If you do need more than eight colors, let us know during the proofing stage and we'll confirm the additional cost to make it work.
No, we can't use CMYK/Hex for enamel but our team can match the closest equivalent in the Pantone library.


Step 4
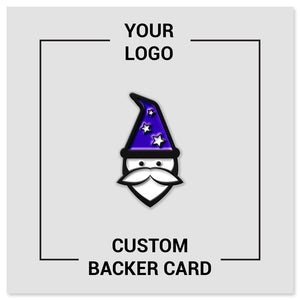
We share a digital mock-up
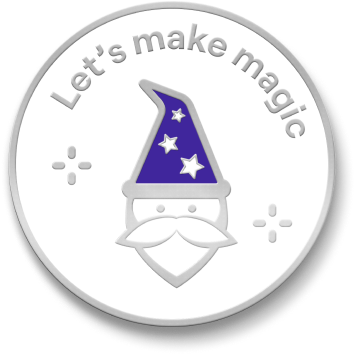
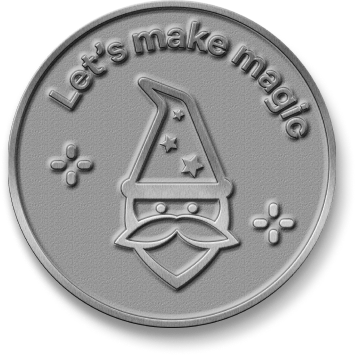
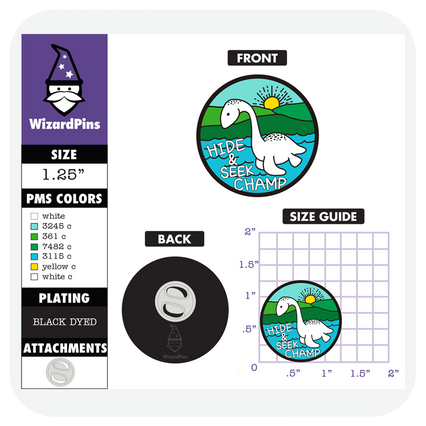
At this stage, your design starts to come to life. We'll create a production sheet that outlines how your pin can be made. This serves as a starting point and includes details like size, front and back views, plating options, Pantone colors, and the pin attachment type we recommend for your project.
Your mock-up will include a legend indicating both the PMS colors and plating used for your design. Looking at the reverse side of the pin will show you the metal plating we'll use for the pin.
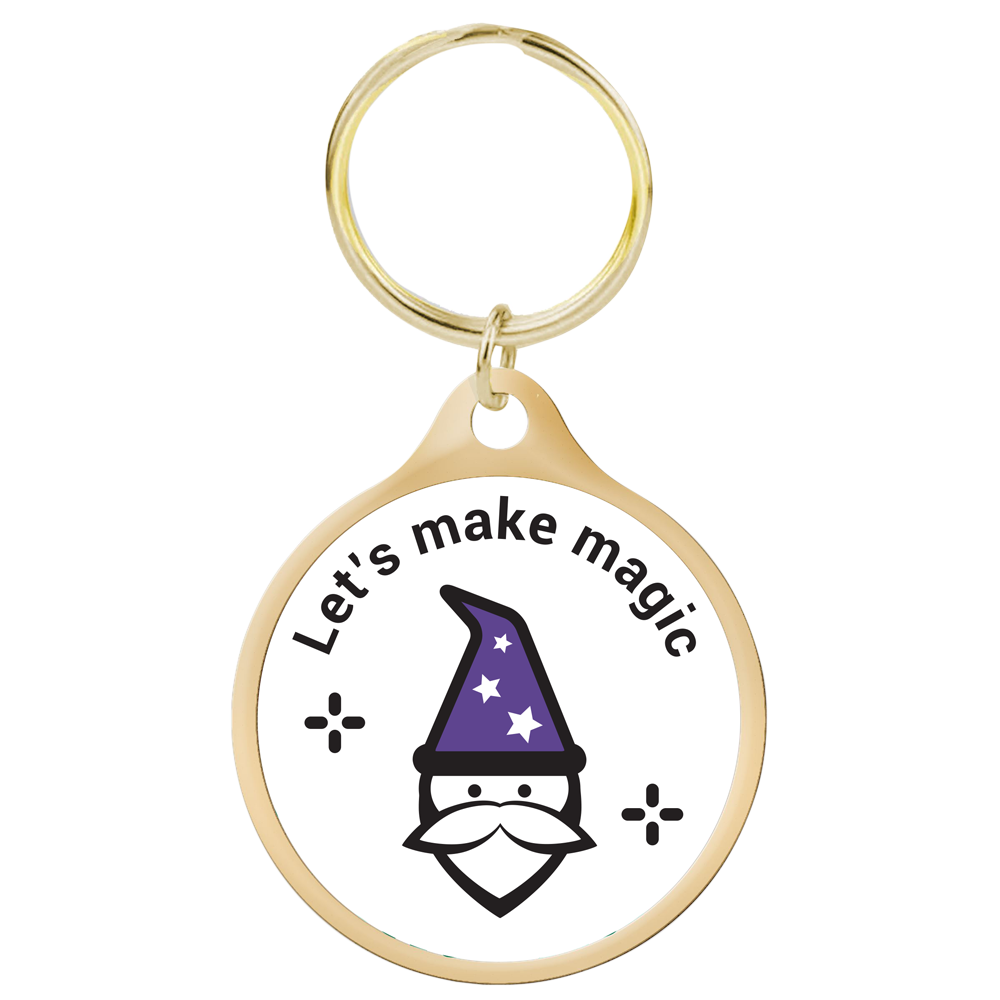
Our standard option is the black rubber PVC clutch, which we've found to be the most reliable backing. If you prefer a butterfly clutch in silver or gold, we can provide those at no extra cost. Magnetic backings are also available and can be added on the cart page during checkout.
Yes. Custom backstamps cost $49.99 and can be used on future designs as long as they fit. By default, we put our WizardPins logo on the pin, but we can remove it if you ask.

Step 5
You provide feedback until you approve the design
Most customers go through a few rounds of feedback when designing a pin, adjusting details like the colors, plating, or size before approving their artwork. Multiple revisions are common, but the process usually moves faster if you provide a clear, concise list of the changes you'd like.
After completing thousands of custom orders, we've learned that clear communication and feedback is key to how to design pins that balance your creative vision with production requirements. Providing your feedback in bullet points and clearly stating requests (for example, "change PMS 184 to PMS 134") helps speed things up. Marking up a file in an editing program is another great way to avoid confusion.
Nine times out of ten, the change isn't possible. Sometimes, customers request additions or updates to their designs that aren't compatible with the production process and simply can't be done.
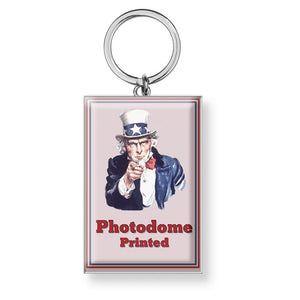
In order for intricate designs to work with the enamel process, small colored details and text are sometimes either removed or converted into metal lines. If preserving every colored element is essential for your branding, we also offer printed pin styles that can work with any file.
To accommodate highly detailed designs, the best approach is often to use a larger pin size. Many customers choose the smallest size but request very complex artwork, which can be difficult to reproduce. If increasing the size is not possible, some of the details will need to be simplified or removed to make the design work at a smaller scale.
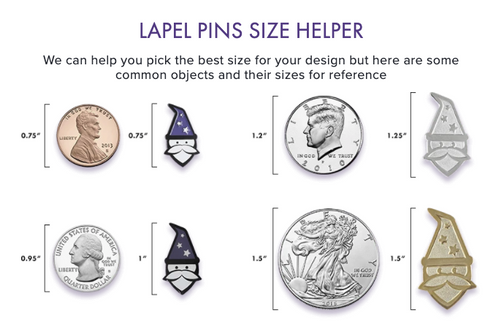
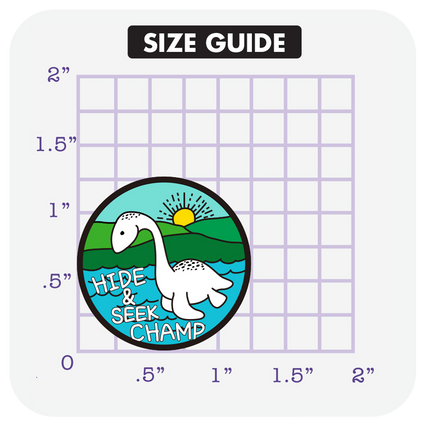
We include a size grid showing exactly how large the pin will be. When we list a size, we're using the longest dimension between the height and width. Our most popular size is 1".


Final Step
We make the pins and ship them to you!
Once you approve the proof, we'll begin production on your pins. The process takes a few weeks, and when your order ships, we'll send a tracking number to the email address you used at checkout.
Our average production time is about two weeks. Because most of our enamel pins ship from China, delivery can range from one to two business days to more than a week. If you have a rush deadline, let our team know at the beginning of the project.
Because each order is custom-made, production begins as soon as you approve the design. At that point, we are unable to make further modifications.
The majority of our orders ship via FedEx in secure cartons. Unless you request otherwise, each pin is individually polybagged and then grouped into larger bags of 50 or 100 for most orders.
Email the order thread we've been using to communicate about your proof and we'll work with you towards a solution! To proactively avoid any issues, we strongly recommend samples for approval if time permits.