How To Make Your Own Custom Pins
1. Choose your design: The first step is to decide what design you want for your pin. You can draw your own design or use a graphic design software to create a digital design. Make sure the design is clear and easy to read.
2. Choose your materials: You will need some materials to make your custom pins. You can buy pin backs, pin blanks, and epoxy resin from a craft store or online. You will also need a printer, scissors, glue, and a paintbrush.
3. Print your design: Once you have your design ready, print it on a sheet of paper. Make sure the size of the design matches the size of the pin blank.
4. Cut out your design: Use scissors to cut out your design from the paper. Make sure the edges are smooth and clean.
5. Glue your design: Apply a small amount of glue to the back of the pin blank and place your design on top. Press down firmly to make sure it sticks.
6. Add epoxy resin: Mix the epoxy resin according to the instructions on the package. Use a paintbrush to apply a thin layer of resin over the design. Make sure the resin covers the entire surface of the pin blank.
7. Let it dry: Place the pin on a flat surface and let it dry for at least 24 hours. Once it's dry, your custom pin is ready to wear or give as a gift.
Making your own custom pins is a fun and creative way to express yourself. With a little bit of creativity and some basic materials, you can create unique and personalized pins that reflect your style and personality.
Hard Enamel Pins
Premium custom enamel pin with smooth finish
Soft Enamel Pins
Our most popular pin
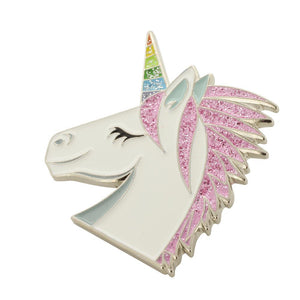
Glitter Enamel Pins
Add a bit of sparkle to your enamel pins!
Custom Enamel Pins
Top 3 reasons to work with us
Quality
Top notch quality and fast turnaround for your peace of mind. Many options to suit your needs.
Trust
Professionals you can trust to help you create your masterpiece, no matter how detailed the request.
Satisfaction
Our happy customers are our proof. We average 5/5 stars out of 20,046 satisfied customers.


