


This is a guide to setting up custom enamel pin artwork using a graphic design program.
Disclaimer: We accept ANY artwork and we have a team of artists that will turn your design into a production-ready enamel pin design.
This article is only intended for customers who are graphic designers and want to create enamel pin designs on their own.
If you are not proficient in graphic design you can attach ANY design to your order. If you are a graphic designer and want a little more information on how to set up your design file, please read on.
We accept ANY artwork and we have a team of artists that will turn your artwork into a production-ready enamel pin design.
– Wizard Pins Art Team
Guidelines:
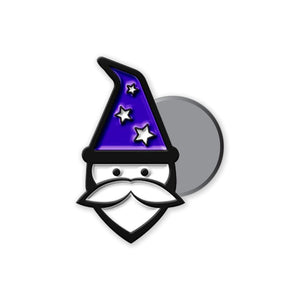
- No gradients or shading.
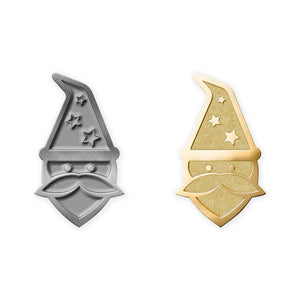
- Each color has to be outlined in a single metal color.
- If an area is very small, it likely has to be metal rather than color-filled.
- The more simple the design, the better it'll translate to a final product.
- We use coated Pantone colors. Here is a great chart: PMS Chart.
- Each color has to be separated by a line of raised metal, the minimum line thickness is 0.2mm, the minimum color area is 0.3mm.
- If you're using text, please set your font to at least 5pt.
- The preferred file type is vector (.ai, .eps, .pdf).
- We frequently get asked if we have a "template" for the artwork. Since we have an art team that can manipulate any file to fit a given size, we don't have any specific templates for any of our products besides the rush printed ones which are confined to stock shapes. We can share the rush printed templates upon request!

FAQs
How do you make a single enamel pin?
Select "1" as your quantity on the product page. We will produce samples for you before production begins.