


How to Design a Custom Hard Enamel Lapel Pin
How to Design a Custom Hard Enamel Lapel Pin
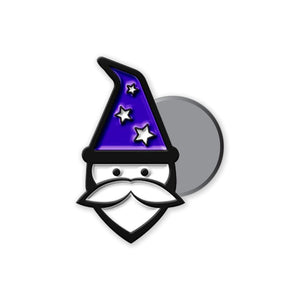
At WizardPins, we pride ourselves on helping people who don't know how to design a custom hard enamel lapel pin to bring their ideas to life, and we'd be glad to walk you through the process of designing a pin. Just choose a style, size, and number of pins that you want, and we'll work with you from there to create your custom pins.
Here's what you need to do:
- Add the hard enamel pins you want to your cart, then upload your artwork and either check out or request a free quote.
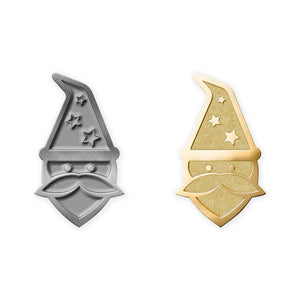
- Check your email for the first proof of your design from our artists. You'll be able to see how we translated your design into a workable pin, including the front and back of the pin, the size of the pin, and the colors used.
- Give us clear, detailed feedback. It's common to go through a few proofs before finalizing a design, and we'll provide unlimited proofs at no charge.
- Approve the final design for your pin and wait for them to arrive.
Tips for Creating Your Pin Design
Here are a few key things you should keep in mind when creating the initial artwork you'll send us:
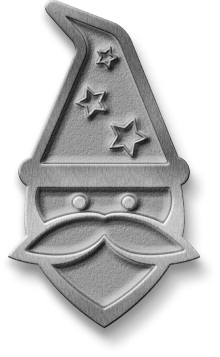
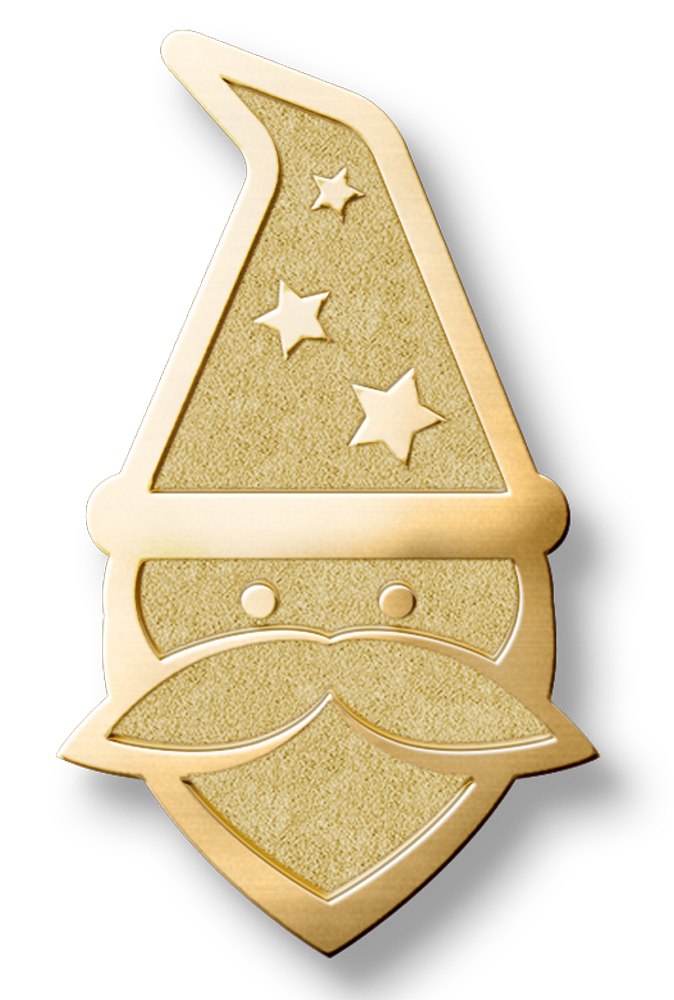
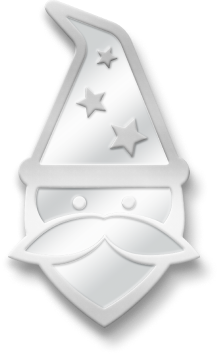
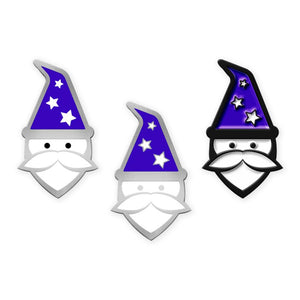
- All colors in a pin will be separated by lines. The color will be inserted into the mold stamped out using the lines of your piece.
- Keep your line thickness consistent; varying line thicknesses and textures doesn't translate well to enamel pins.
- Don't shy away from detail; your pin price is based on the size of the pin and its type, not the number of colored sections it contains.
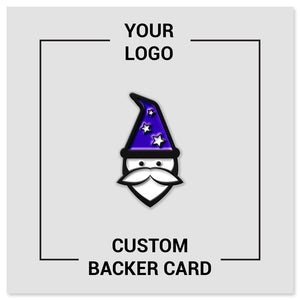
- You will need a digital version of your drawing to send us. We prefer a vector image, but anything will work, including JPGs and PDFs. If your design was hand-drawn, you should scan it in and create a digital file to submit.